
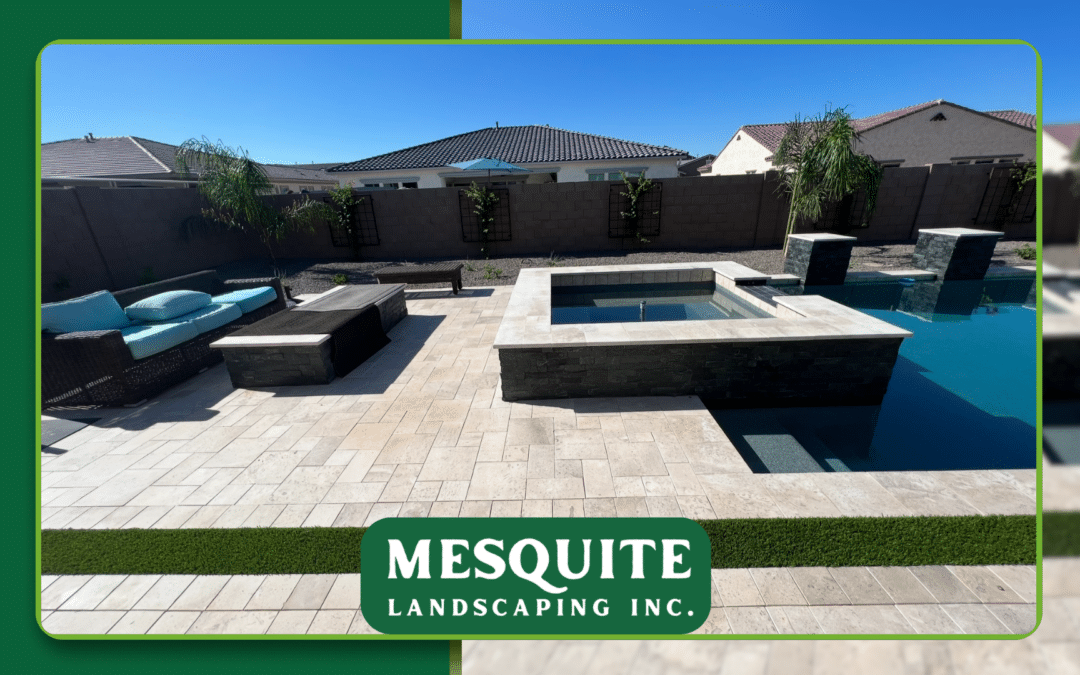
Transforming your property from a concept sketch into a living, breathing outdoor space is one of the most rewarding investments you can make in your home. This guide is for homeowners and property managers planning a new landscape installation or major renovation. Knowing the steps and best practices ensures your investment results in a beautiful, long-lasting outdoor space. A landscaping install brings together soil preparation, hardscape construction, thoughtful planting, and integrated systems—all working in harmony to create the yard you’ve envisioned. Whether you’re refreshing your front yard for curb appeal or building a complete backyard retreat, understanding each phase helps you move forward with clarity and confidence.
Before diving into the details, here’s a quick overview of the main phases of a landscaping install: planning and design, site preparation, installing hardscapes, underground utilities, planting, applying mulch, and final walkthrough.
What “Landscaping Install” Actually Means
A landscaping install is the hands-on phase where your landscape design becomes reality. It encompasses everything from reshaping the soil and constructing patios to planting trees and activating irrigation systems. This is where machinery, materials, and skilled labor converge to execute what was once just an idea on paper.
The main phases of a landscaping install include planning and design, site preparation, installing hardscapes, underground utilities, planting, applying mulch, and conducting a final walkthrough.
It’s worth noting the distinction between landscape design and installation. Design focuses on site analysis, scaled drawings, plant schedules, and material selection. Installation executes those plans through physical work—grading slopes, laying pavers, and positioning plants with precision. A landscape designer creates the blueprint; installers bring it to life.
For residential projects through 2026, the most common installation types include front-yard refreshes featuring low-maintenance or pollinator-friendly plantings, comprehensive backyard overhauls with multi-level patios and fire pits, expansive entertainment zones with outdoor kitchens, and new-build landscapes incorporating sustainable elements like permeable pavers and native plants.
Key components of any landscaping install:
-
Grading to establish proper drainage (typically 2% slope away from foundations)
-
Hardscape assembly including patios, walkways, and retaining walls
-
Planting sequences prioritizing trees, then shrubs, then smaller plants
-
Low-voltage LED lighting for safety and visual drama
-
Irrigation networks zoned by plant water needs
Planning Your Landscape Design and Installation
Starting your planning in spring—March through May for most regions—gives you the advantage of moderate temperatures and workable soil while avoiding rushed summer schedules that can inflate cost.
Essential planning steps before breaking ground:
-
Create a scaled base plan at 1/4 inch equals 1 foot on graph paper, using a bird’s eye view to mark your property line, house footprint, driveway, existing trees, and utilities
-
Call 811 to have underground utilities flagged—striking a line can mean $5,000–$15,000 in repairs
-
Turn your concept sketch into an install-ready landscape plan with precise measurements, a plant schedule listing botanical names and sizes, a complete materials list, and a phasing plan; draw the layout first, test shapes and other elements, and use tracing paper to refine ideas
-
Confirm local building codes and HOA rules regarding fences, setbacks, and retaining walls exceeding 4 feet (these often require engineered footings)
-
Establish your budget range, allocating 40–60% to hardscape elements for long-term durability, and explore flexible landscape financing options for homeowners if you want to spread out project costs
-
Define your priorities: privacy, curb appeal, play space, or entertainment
-
Gather style references using apps or magazines to collect garden design inspiration; Canva Whiteboards, iScape, SketchUp, and PRO Landscape can also help you plan
-
Review the basic principles before finalizing the layout: proportion is the sense that the size of the individual components in a landscape is consistent with the landscape as a whole, balance refers to the consistency and visual weight of attractions in the yard, and scale is simply the size of one component relative to adjacent components; a color wheel helps you choose flowers and planting colors
-
Assess your maintenance tolerance—low-water designs can cut upkeep by 50% annually, and easy low maintenance landscaping ideas for Arizona yards can help you balance beauty with long-term simplicity
Site Preparation and Grading
Good site preparation, completed early in the project, determines drainage success and long-term plant health. Approximately 25% of landscape disputes trace back to poor grading, making this foundational work essential before any planting begins.
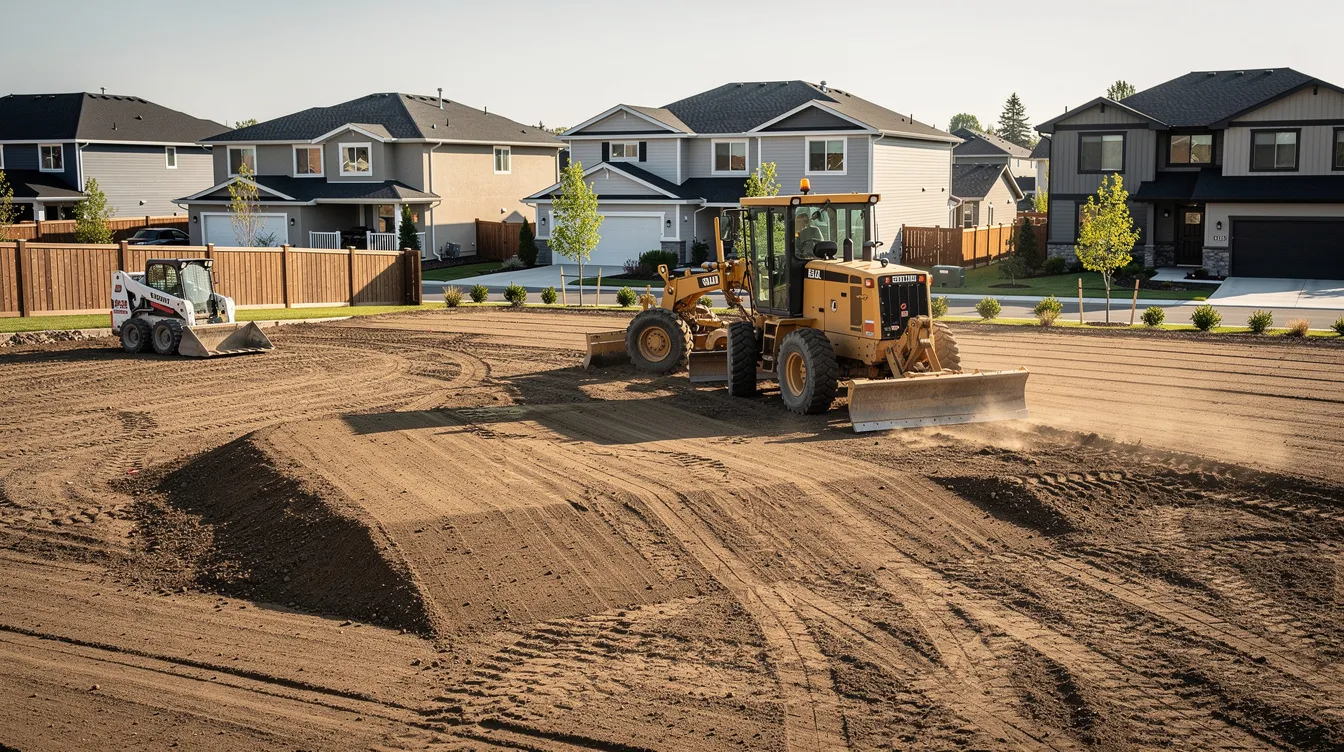
What crews actually do during site prep:
-
Clear the site of old lawn, invasive shrubs like English ivy, and poorly placed plants using systemic herbicides applied 4–6 weeks prior or mechanical removal
-
Grind stumps to 6–12 inches below grade using specialized cutters to allow smooth regrading
-
Establish positive drainage with laser-guided grading, achieving a minimum 2% slope (1/4 inch per foot) away from foundations
-
Compact subsoil to 95% Proctor density using vibratory plate compactors, preventing settlement under patios
-
Import quality topsoil: 4–6 inches for lawn areas, 8–12 inches for garden beds supporting deeper root penetration, especially when you plan to use Arizona native plants in your landscape
-
Test soil pH (optimal range 6.0–7.0 for most plants) and organic matter content
-
Amend clay-heavy soil with 20–30% compost plus gypsum at 50 pounds per 1000 square feet to improve infiltration
-
Add pine bark fines to sandy soil type profiles to boost water-holding capacity by 15–20%
The visible transformation from an uneven yard to smooth, contoured terrain sets the stage for everything that follows.
Hardscape Installation: Key Landscape Design Elements—Patios, Paths, and Walls
Hardscapes install before softscapes because they require excavation, compaction, and heavy equipment that would damage delicate plantings. Hardscape elements are non-living items such as rocks, walls, patios, arbors, or water features. Softscape refers to the living elements, such as gardens, lawns, shrubs, and trees. So this sequencing protects your investment in living elements while ensuring structural integrity.
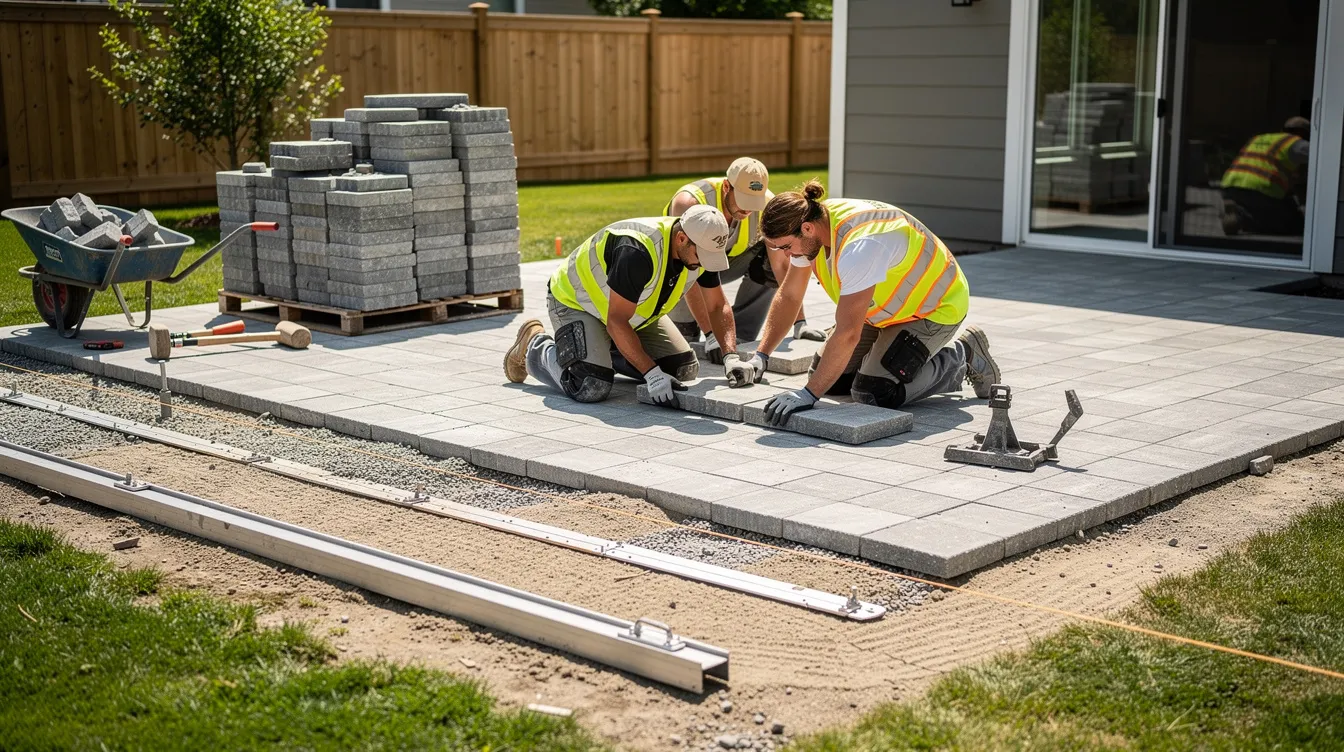
Installing a typical paver patio (example: 12×16 ft off the back door):
-
Excavate to proper depth (8–12 inches, or to frost depth in colder climates)
-
Lay geotextile fabric to suppress weeds and stabilize the subgrade
-
Add 6 inches of crushed stone base, compacted in 4-inch lifts to 98% density
-
Screed 1 inch of bedding sand to 1/8-inch tolerance
-
Install edge restraints bolted every 2 feet
-
Lay pavers in herringbone pattern for maximum shear strength
-
Sweep polymeric sand into joints and activate with misting
Walkway options comparison:
|
Material |
Cost per Sq Ft |
Durability |
Maintenance |
|---|---|---|---|
|
Poured concrete |
$6–10 |
High, but cracks without control joints |
Low |
|
Segmental pavers |
$12–20 |
Excellent, allows water infiltration |
Periodic joint renewal |
|
Gravel paths |
$3–6 |
Moderate, requires edging |
Higher, material migrates; landscape fabric underneath helps control drainage and prevent weeds; in Arizona, adding gravel to your landscape can also improve drainage and reduce maintenance |
|
Stepping stones |
$8–15 |
Good for lawn integration |
Low if mortared |
|
A great way to add tranquility and a touch of nature is by adding a water feature. |
|
|
|
In small spaces, a statue or tabletop fountain is a practical option.
Softscape Installation: Trees, Shrubs, and Planting Beds
Softscape installation follows hardscape completion, focusing on the living elements that define your garden’s character. This phase transforms constructed spaces into natural environments with texture, color, and seasonal interest, with planting composition reinforcing unity across the design.
Planting sequence:
-
Install trees first (they anchor the composition)
-
Plant large shrubs next
-
Add perennials and annuals separately, using flowers as seasonal focal points within garden beds
Best practices:
-
Dig planting holes about twice as wide as the root ball and keep the root ball level with the ground
-
Water thoroughly at installation, saturating root zones to 18–24 inches deep
-
Space trees and other plants for maturity to support healthy growth: 15–20 foot canopy trees at 20-foot centers, 4–6 foot shrubs at 5 feet on center
-
Group plants with similar water and light needs to help prevent overwatering or drought stress
-
Repeated plant shapes or bed patterns create rhythm, while focalization guides attention to a focal point without feeling abrupt
-
Incorporate 20% compost by volume into bed soil, tilled 8–12 inches deep
-
Apply pre-emergent herbicides where appropriate to suppress weeds for 3–4 months
-
Top beds with 2–3 inches of shredded hardwood mulch, keeping it away from trunks to prevent basal rot; form comes from plant shape and branching structure, while line is created by bed borders that guide the eye, and choosing the right gravel and mulch for Arizona landscapes further supports plant health
Choosing native plants over non native plants supports local ecosystems while reducing water demands—a priority in regions focused on conserving water.
Lawn, Sod Installation, Irrigation, and Landscape Lighting
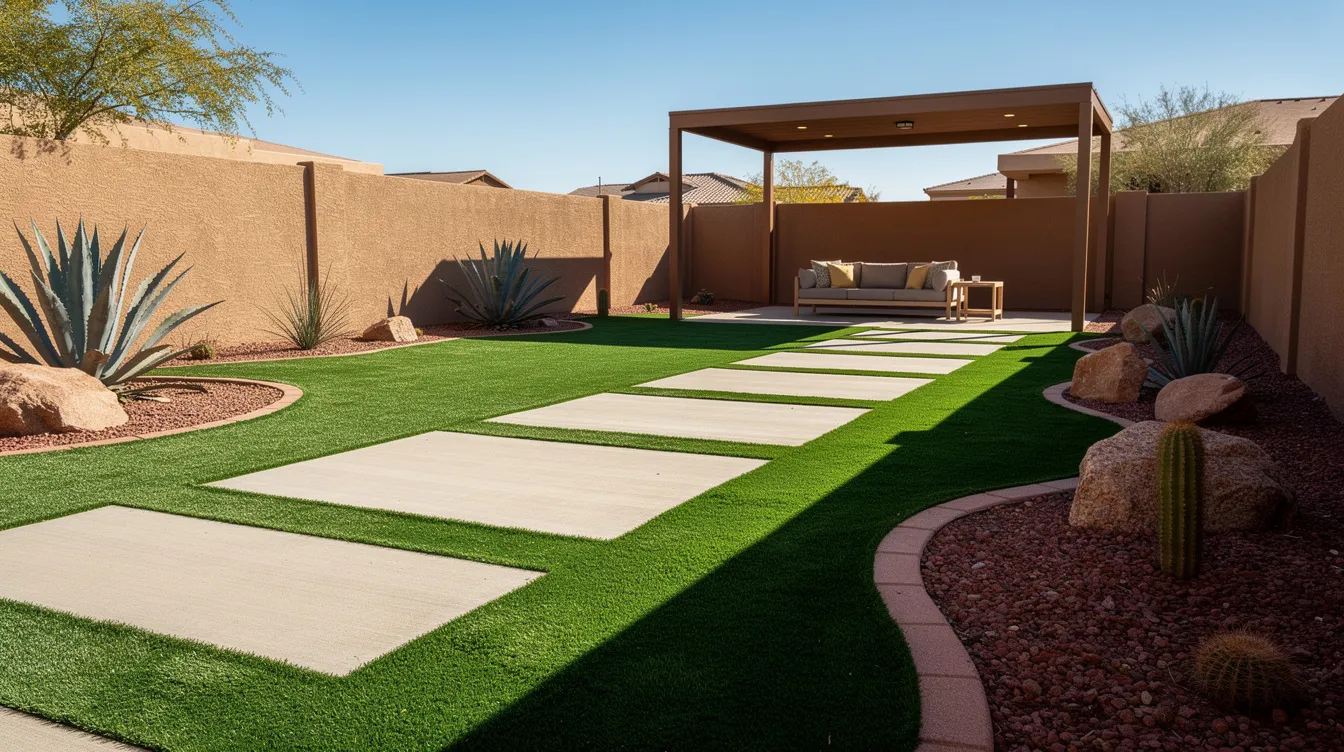
Lawn establishment, irrigation systems, and lighting typically install together near the project’s end, completing the space as a unified outdoor environment.
Lawn installation options comparison:
|
Method |
Establishment Time |
Durability |
Maintenance |
Cost (if available) |
|---|---|---|---|---|
|
Sod |
Roots in 2–3 weeks, traffic-ready by week 4 with 1 inch weekly irrigation |
High |
Moderate |
Higher |
|
Seeding |
Germinates in 7–14 days, establishes over 6–8 weeks, vulnerable to washout |
Moderate |
Higher (until established) |
Lower |
|
Hydroseeding |
Sprouts in 4–6 weeks with 85% coverage, ideal for slopes |
Good |
Moderate |
Moderate |
These services often also include perennial and annual garden bed design and installation, vegetable garden bed design and installation, and lawn seeding, which are typical offerings of expert landscaping and outdoor design in Southeast Valley Arizona.
Automatic irrigation basics:
-
Automatic sprinkler system installation services make watering your lawn or garden easier through 6–12 zones via programmable controllers
-
Rotors cover large lawn areas (30–50 foot throw at 2–4 GPM)
-
Spray heads serve smaller spaces at 1.5 GPM
-
Drip irrigation is recommended for garden beds to minimize water waste, using 0.6 GPH emitters spaced 12 inches apart for shrubs and beds
-
Backflow prevention and local permits ensure compliance
Low-voltage LED landscape lighting:
-
Path lights at 50–100 lumens provide safe navigation
-
Uplighting with 20-degree beam spreads highlights specimen trees
-
Step and wall fixtures at 1–2 foot spacing meet safety codes for walkways
For example, adding drip irrigation to a vegetable garden can boost yields by 20% through scheduled fertigation, while landscape lighting can highlight different areas of the landscape for nighttime enjoyment.
Timeline, Costs, and Choosing a Landscaping Professional
A realistic residential timeline runs 1–2 days for a modest front yard install and 1–3 weeks for full-property transformations, and homeowners can sometimes save on smaller tasks by phasing the work. Crews of 4–8 workers typically achieve 1,000 square feet of grading daily, a benchmark similar to the output of reliable and affordable landscape designers in San Tan Valley, AZ.
Cost ranges for 2026:
|
Project Scope |
Typical Cost |
|---|---|
|
Basic edging and mulch |
$2,000–$5,000 |
|
Mid-range patios with beds |
$10,000–$25,000 |
|
Extensive outdoor living |
$50,000+ |
|
Before you hire a contractor, reviewing common landscaping FAQs about design, installation, and maintenance can clarify expectations and terminology. |
|
|
Questions to ask any landscaping professional: |
|
-
Are you licensed with insurance exceeding $1M liability, and do you offer comprehensive landscape design and maintenance services in Arizona?
-
Can you share 5+ recent projects similar to mine?
-
What plant warranty terms do you offer?
-
Do you perform a complete site cleanup after installation?
Decision checklist for comparing bids:
-
Scope clarity (avoid vague “plants as shown” language)
-
Material specifications (ASTM standards for pavers, 2-inch minimum caliper for trees)
-
Verifiable references with 90%+ callback satisfaction
-
Responsive communication with clients via project management tools
-
Written proposals listing plant varieties, quantities, sizes, and Gantt timeline with start/end dates
Your landscaping project represents a significant investment in your property and lifestyle. Moving from planning to scheduling your own landscaping install sets the stage for a landscape that matures beautifully over the next 3–5 years—complete with establishment phases that yield 80% survival rates when properly maintained. Costs vary depending on project scope and whether the work is residential or commercial. Professional services should also include a complete site cleanup after the work is done, leaving the property looking its best. The right landscapers will help you create a space designed specifically for your environment, built to last, and made to enjoy for years to come, so discuss your job and compare service options carefully.
