
Key Takeaways
- A backyard designer helps new home buyers turn empty lots (e.g., 2025 builds in Chandler, AZ) into functional outdoor living spaces before construction is finished.
- Homeowners can use both professional backyard designers and DIY digital tools to plan patios, pools, play areas, and gardens tailored to their lifestyle.
- Planning backyard design during new home construction saves costs, avoids utility conflicts, and speeds up permitting for features like decks and outdoor kitchens.
- Readers will learn a step-by-step layout process, tech tools to use, budget ranges for 2024–2025, and how to find and vet a backyard designer for a new build.
Building a new home is one of life’s most exciting milestones. But while you’re choosing cabinet finishes and flooring, there’s a critical space that often gets overlooked until it’s too late: your backyard. The truth is, the best time to design your outdoor space isn’t after the moving truck leaves—it’s during construction, when your builder still has equipment on site and utility lines remain accessible. That’s where a skilled backyard designer comes in, helping you create a landscape plan that integrates seamlessly with your new house from day one.
What is a backyard designer? A backyard designer is a professional who specializes in planning and creating outdoor living spaces that are both functional and visually appealing. Backyard design refers to the process of organizing and enhancing your outdoor area to suit your needs and preferences. Backyard design tools help users create engaging and attractive outdoor spaces. Designing a backyard can include creating zones for activities, choosing materials, and selecting plants.
In this guide, we’ll walk you through everything you need to know about working with a backyard designer for new home construction. From understanding the design process to exploring digital tools that help you visualize your dreams, you’ll gain the knowledge to make confident decisions and avoid costly mistakes.
What a Backyard Designer Does for New Home Construction
Think of a backyard designer as the architect of your outdoor world. While your home builder focuses on what happens inside four walls, a backyard designer plans everything beyond the back door—from grading and drainage to patios, plantings, and that fire pit you’ve been watching videos about.
Working with a reputable backyard design company ensures you benefit from professional expertise, reliable service, and a proven track record, giving you confidence that your project will be completed to the highest standards.
What is a landscape plan? A landscape plan is a scaled diagram that displays how hardscape and softscape elements are arranged in an outdoor space. Hardscape pertains to the hard, inanimate elements found in your landscape design such as wood, stone, concrete, and brick. Softscape pertains to soft, living elements such as grass, vines, shrubs, flowers, and trees.
In 2024–2025 new builds, designers coordinate directly with home builders and city requirements before ground is ever broken. This means reviewing setbacks, pool fencing codes, and easement lines to ensure your vision aligns with local regulations. In communities across Chandler, AZ and the greater Phoenix area, this early coordination is essential for smooth permitting.
Elements They Typically Plan
A comprehensive landscape design from a backyard designer includes inspiration from our landscape project gallery:
- Concrete or paver patios and walkways
- Pergolas and shade structures
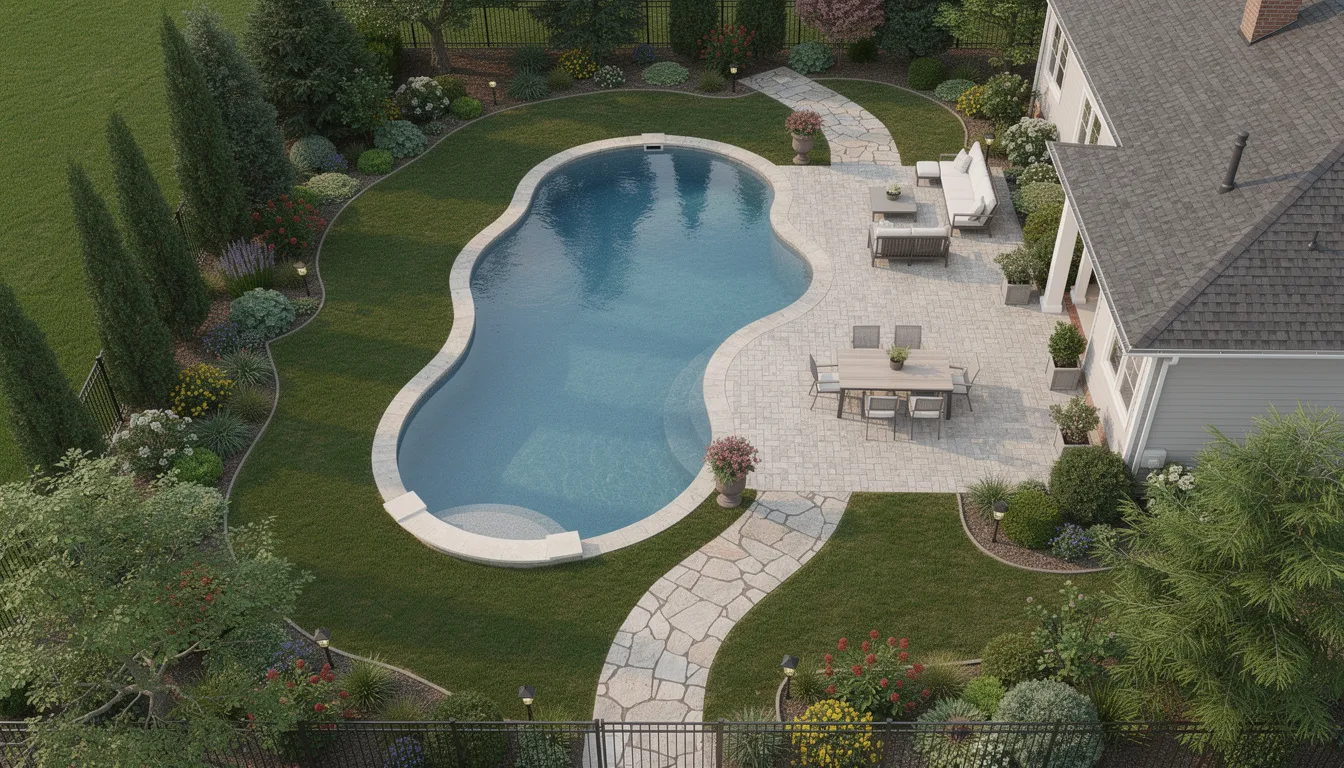
- Pool and spa placement
- Outdoor kitchens and grilling stations
- Play zones and turf areas
- Dog runs and pet-friendly features
- Raised garden beds and planting areas
- Landscape lighting systems
- Irrigation and drainage solutions
Designer vs. Architect vs. Contractor
Understanding the difference helps you hire the right professional:
| Role | Focus | When Required |
|---|---|---|
| Backyard Designer | Residential outdoor spaces, plant selection, hardscape layout | Most residential new builds |
| Landscape Architect | Complex engineering, commercial projects, licensed in most states | Large-scale or multi-story projects, public spaces |
| Landscape Contractor | Physical installation and building | After design is complete |
| For a typical single-family new construction project, a backyard designer handles the creative and planning work, then hands off deliverables to contractors for building. |
Digital Design Deliverables
Modern backyard designers produce professional deliverables that include:
- 2D layouts with precise measurements
- 3D renderings for visual walkthroughs
- Plant lists with species, quantities, and placement
- Materials schedules for hardscape elements
- Irrigation plans
- Exportable pdf file formats for contractor handoff
Many design tools allow you to save your landscape plan as a high-resolution JPG, PNG, or PDF file, making it easy to share your design with family members or teammates. You can also collaborate with others in real time to create the best outdoor space by inviting them to work on the landscape plan together. Homeowners can visualize their landscape designs by overlaying real plants and landscaping elements onto a photo of their project area. Backyard design tools often include a library of plants and landscaping elements for users to incorporate into their designs.
These design features allow homeowners to visualize exactly what their yard will look like before a single shovel hits dirt. Many designers now use software like DynaScape, Realtime Landscaping Architect, or AutoCAD to generate these plans. These tools offer a variety of design styles to suit different tastes and preferences.
Planning Your Backyard Design During New Home Construction
The planning window between signing your contract and framing—typically 4–8 months for 2025 builds—is the ideal time for backyard design decisions. During this period, you have maximum flexibility to coordinate with your builder and avoid expensive retrofits later. It’s important to decide on layout options, zones, and features early in the process to ensure your outdoor space meets your needs and vision. You can design any outdoor space, including front yards, backyards, side yards, planter beds, and patios.
Gathering Site Information
Before sketching a single idea, gather critical information from your builder. This step helps you realize the full potential of your outdoor space by ensuring your backyard designer can make informed decisions that maximize both function and beauty.
- Review the builder’s site plan – Understand property lines, easements, and the home’s footprint on the lot
- Mark utility lines – Identify where gas, electric, water, and sewer run through the yard
- Confirm lot grading – Know where water flows and where drainage will be directed
- Identify sun patterns – North-facing backyards can receive up to 30% less sunlight, affecting plant choices and shade structure placement
- Assess privacy needs – Note neighbor sightlines from windows, decks, and second floors
Defining Usage Zones
Based on your family’s lifestyle, consider these functional areas:
- Dining terrace off the kitchen (12’x16’ minimum for a table and chairs)
- Covered lounge near the living room (10’x10’ minimum for comfortable seating)
- Kids’ play area in a shaded corner with visual supervision from inside
- Side yards for storage, dog runs, or utility access
- Garden beds for vegetables or ornamental shrubs
Avoiding Common Pitfalls
Coordination during construction prevents conflicts that cost thousands to fix later. Common issues early planning avoids:
- Placing a patio directly over a plumbing clean-out
- Positioning a future pool where easements prohibit permanent structures
- Running landscape lighting after walls are sealed, requiring trenching through new concrete
- Missing the window to run gas lines for an outdoor kitchen
When you plan alongside your home’s construction timeline, your builder can rough in utilities, adjust grading, and accommodate your vision without the premium price of retrofitting.
Digital Backyard Design Tools vs. Hiring a Professional
Today’s homeowners have access to amazing digital tools that make backyard planning more accessible than ever. These tools make the design process fun and engaging, allowing users to experiment with playful and creative ideas for their outdoor spaces. Apps like Planner 5D, iScape, and browser-based landscape planners let you experiment with layouts from any device. But how do these tools compare to hiring a professional backyard designer?
Comparing Your Options
DIY Digital Tools (2024) Free or low-cost options range from basic drag-and-drop interfaces to sophisticated 3D modeling. Most tools offer plant and materials libraries, the ability to draw to scale, and export features for sharing with contractors. The learning curve varies, but many are designed to be easy to use tools for homeowners without design experience. Time investment typically runs 10–30 hours for a complete plan. Cost ranges from free to $100–300 for premium features.
Professional Backyard Designers Hiring a pro typically costs $1,500–$5,000 for design services alone, depending on project complexity. However, professionals bring expertise in climate-appropriate plant selection, drainage engineering, and code-compliant layouts. A designer working in Phoenix knows which plants thrive in triple-digit heat, while someone in Seattle understands rain management. Time investment drops to 2–4 meetings plus review periods.
What DIY Tools Can Do Well
Modern design software empowers homeowners to:
- Create 2D layouts with property lines and structures
- Generate 3D visualizations to explore sightlines
- Access libraries of trees, shrubs, pavers, and furniture
- Test different materials and colors
- Export plans as a pdf file for contractor reference
- View designs on phone, tablet, or computer screen
Where Professionals Add Value
Despite technological advances, there are areas where professional knowledge proves invaluable:
- Selecting drought-tolerant plants suitable for your specific microclimate
- Engineering proper drainage for yards with challenging topography
- Designing pool and deck layouts that meet building codes
- Creating irrigation systems that minimize water waste
- Accounting for mature plant sizes and root systems
- Coordinating with pool engineers, electricians, and other contractors
The Hybrid Approach
Many homeowners find success with a hybrid workflow: sketch initial ideas using a free app to explore inspiration and shapes, then hire a backyard designer to refine those concepts into build-ready plans. This approach saves money on design hours while ensuring the final product is professionally vetted.
Step-by-Step: Designing a Backyard Layout for a New Build
Whether you’re working with a 2024 tract home or a custom build slated for 2026, this chronological guide applies to most new construction scenarios.
- Outline Property Boundaries
Start from scratch by drawing your lot lines to scale. Mark the house footprint, garage, and any builder-installed elements like AC pads or utility boxes. If you’re working on paper, use graph paper at 1/4” = 1 foot. On a computer, design software typically allows custom scale settings. - Add Fences and Boundaries
Indicate where fencing will go, including:- Required pool barriers (typically 5 feet minimum height with self-latching gates)
- Privacy fences along neighbor property lines
- Decorative fences for aesthetic zones
- Gates for side yard access
- Map Doors and Windows
Mark every exterior door and window on your plan. These determine:- Primary circulation paths from house to yard
- Sightlines for supervision and views
- Natural zones for adjacent outdoor functions
- Sketch Main Circulation Routes
Draw paths connecting key points:- Back door to primary patio area
- Garage to backyard (for equipment and maintenance access)
- Kitchen to grilling station (keep within 15–20 feet for convenience)
- Pool equipment area with 4–5 feet clearance around the pad
- Layer in Hardscape
Add your primary hardscape elements in order of importance:- Main patio or deck adjacent to the home
- Secondary patios for fire features or seating
- Walkways connecting zones (minimum 3-foot width)
- Retaining walls if grade changes exist
- Add Softscape
With hardscape placed, layer in living elements:- Shade trees positioned to block western sun
- Foundation shrubs along the house perimeter
- Ornamental plantings in beds
- Lawn or turf areas for play and pets
- Groundcovers for erosion control
- Convert to 3D
After your 2D layout feels right, use design software to generate 3D views. Check:- Views from kitchen and living room windows
- How the image looks from upper floor rooms
- Whether shade structures block important sightlines
- Scale accuracy of furniture and plants
- Plan for Access and Future Upgrades
Don’t forget practical considerations:- Maintain 3-foot-wide access routes to irrigation valves and pool equipment
- Leave space for future spa additions or pergola installations
- Ensure gates accommodate trash cans and maintenance equipment
Designing for Function: Zones, Lifestyle, and Climate
A well-designed backyard isn’t just beautiful—it’s tailored to how your household will actually use the space during the first 3–5 years after move-in. This section helps you think through functional zones, climate adaptations, and accessibility.
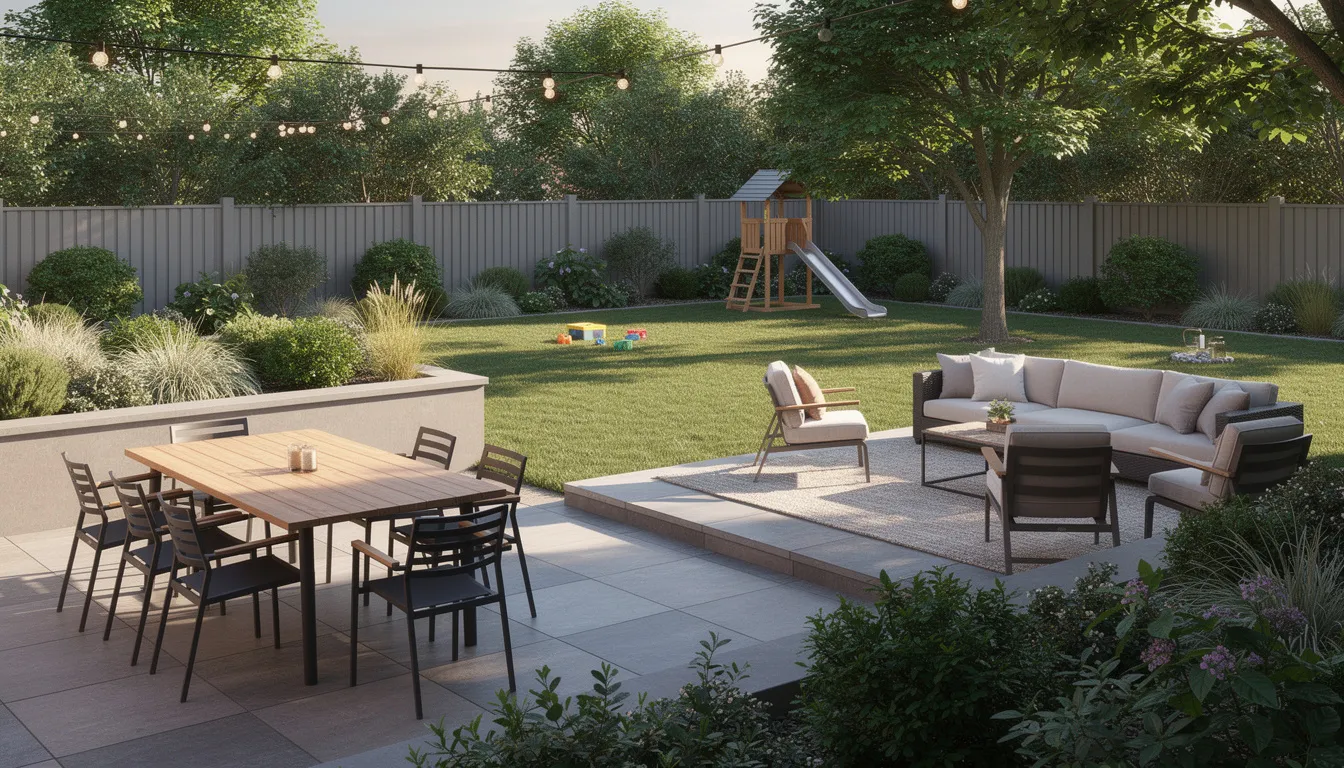
Functional Zones
Depending on your lifestyle, consider incorporating:
- Outdoor dining – Table, chairs, and adequate lighting for evening meals
- Lounge/entertaining – Comfortable seating, fire feature, conversation pit
- Cooking – Built-in grill, outdoor kitchen counter, pizza oven
- Kids’ play – Soft surfaces, swing sets, sandbox, splash pad
- Pets – Turf dog run, waste stations, pet-friendly plants
- Gardening – Raised beds, potting bench, tool storage
- Quiet retreat – Reading nook, water feature, hammock
- Utility/storage – Trash enclosure, shed, equipment screening
Climate-Specific Design
Your location dramatically shapes suitable design choices:
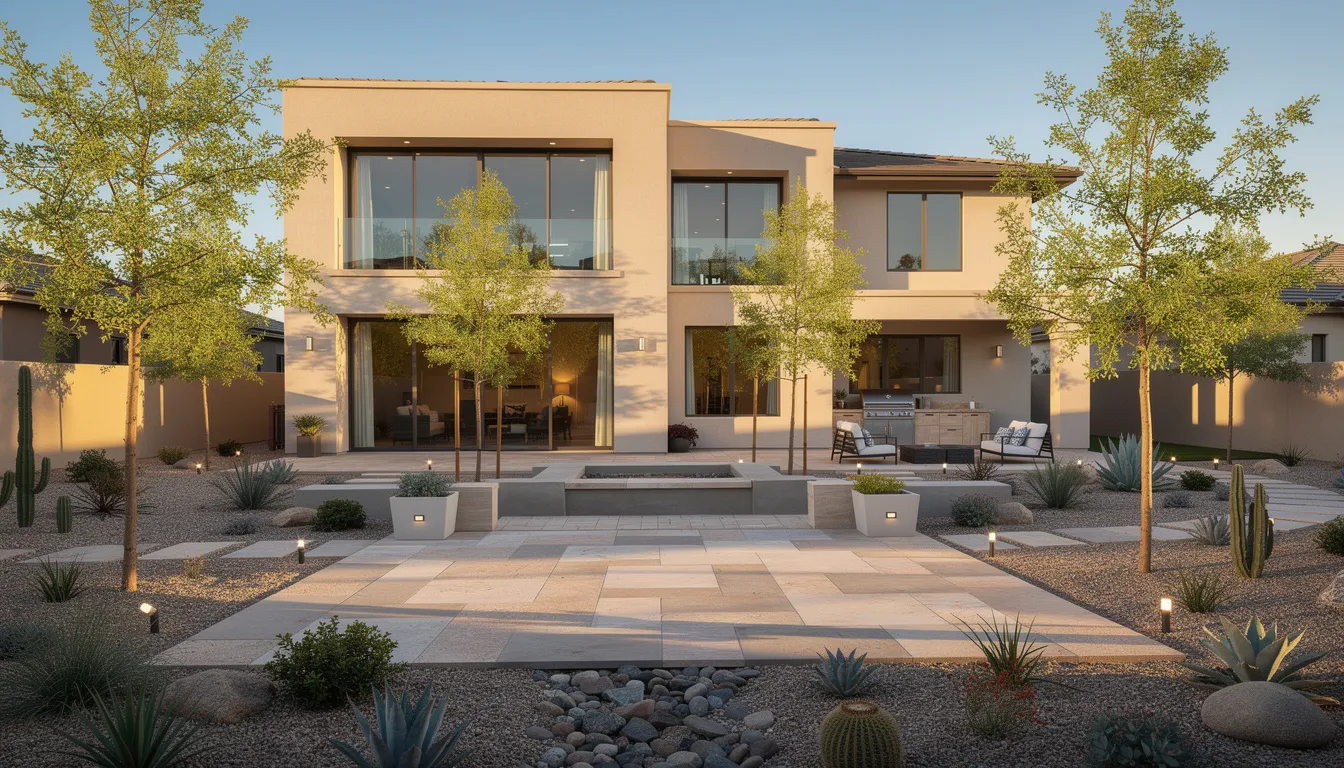
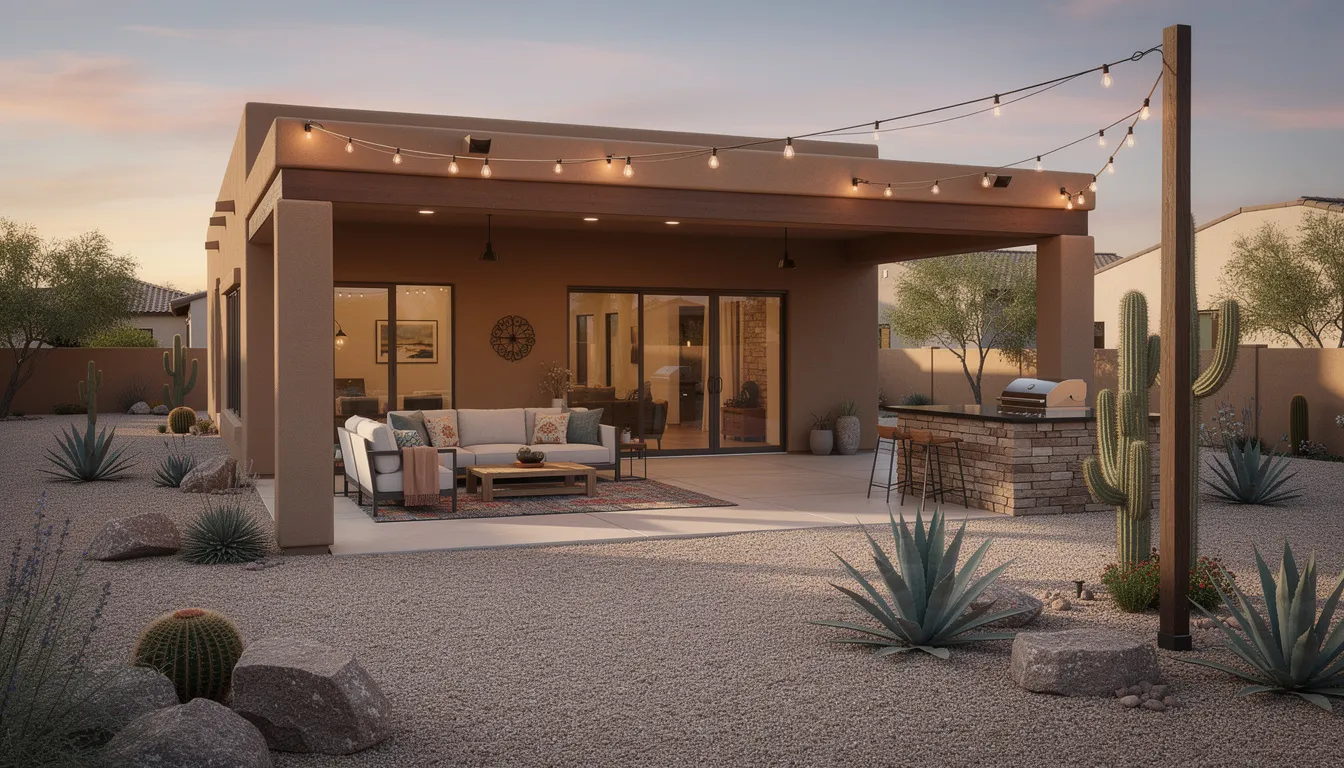
Hot, Arid Climates (Phoenix, Chandler, AZ)
- Shade sails and pergolas reduce sun exposure by 70%
- Misting systems lower perceived temperatures by 20–30°F
- Xeriscaping with native plants reduces water use by 50–75%
- Light-colored pavers reflect heat better than dark materials
- Avoid synthetic turf in full sun (surfaces can reach 150°F)
Wet, Temperate Climates (Pacific Northwest)
- Covered decks extend usable seasons
- Rain gardens and bioswales manage stormwater
- Permeable pavers prevent pooling
- Evergreen screening maintains year-round privacy
Lifestyle Scenarios
Young Family with Toddlers
- Prioritize soft surfaces near play areas
- Ensure visual supervision from the kitchen
- Avoid deep water features
- Create shaded spaces for afternoon play
Empty Nesters
- Focus on low-maintenance plantings
- Add luxury features like hot tubs and fire pits
- Create multiple conversation areas for entertaining
- Invest in quality lighting for evening ambiance
Remote Workers
- Design a covered patio with Wi-Fi access for outdoor work
- Include power outlets for devices
- Create visual privacy for video calls
- Consider a dedicated garden office structure
Material Ideas
When selecting materials, consider:
- Porcelain pavers – Durable, low-maintenance, fade-resistant
- Composite decking – Resists rot and requires no staining
- Native grasses – Low water needs, natural aesthetic
- Steel planters – Modern look, excellent drainage
- Natural stone – Timeless appearance, unique textures
Accessibility Considerations
For aging-in-place homeowners or multigenerational families:
- Maintain gentle slopes (1:12 ratio maximum)
- Design paths at 4–5 feet wide for mobility devices
- Minimize steps; where needed, include handrails
- Install adequate lighting along all walkways
- Choose slip-resistant paving surfaces
Budgeting and Timelines for Backyard Design & Build
Smart homeowners plan their backyard budget alongside interior upgrades like cabinets and flooring—not as an afterthought. Understanding realistic costs and timelines helps you make informed decisions and avoid financial surprises.
2024–2025 Budget Ranges (U.S.)
| Project Scope | Typical Cost Range |
|---|---|
| Basic new-build backyard (patio, basic planting, sod) | $10,000–$25,000 |
| Mid-range with pergolas, outdoor kitchen elements | $30,000–$75,000 |
| Premium with pool, spa, full outdoor living | $80,000–$150,000+ |
| These figures represent national averages. Markets like Phoenix, Dallas, and Orlando may vary based on local labor costs and material availability. |
Key Cost Drivers
- Lot size – Larger yards require more materials and labor
- Soil and grading – Rocky soil or significant grade changes add expense
- Access for equipment – Limited access increases manual labor
- Materials – Natural stone costs more than concrete pavers
- Irrigation complexity – Smart systems with zones cost more upfront
- Lighting systems – Low-voltage LED lighting adds $3,000–$10,000
- Special features – Pools, spas, outdoor kitchens add significant cost
Typical Timelines
| Phase | Duration |
|---|---|
| Design development | 2–4 weeks |
| Permitting (varies by municipality) | 2–6 weeks |
| Construction (basic backyard) | 4–6 weeks |
| Construction (complex with pool) | 8–12 weeks |
| Weather, material delays, and permit backlogs can extend these timelines. |
Cost-Saving Strategies
- Phase projects over 2–3 years – Install hardscape first, add planting and features later
- Choose pre-engineered structures – Pergola kits cost 30–50% less than custom builds
- Mix materials strategically – Use premium pavers for high-visibility areas, basic concrete elsewhere
- Combine artificial turf with planting beds – Reduces irrigation costs while maintaining green space
- Reuse builder-installed elements – Work with existing gravel, fill, or grading where possible
Build in Contingency
Industry data shows 10–20% budget overruns are common due to:
- Hidden soil conditions discovered during excavation
- Material price fluctuations
- Design changes once construction reveals realities
- Permit requirement surprises
Building a 10–15% contingency into your budget from day one saves stress and prevents compromised results.
Finding and Vetting the Right Backyard Designer
Many new-home communities in 2025 provide lists of recommended landscapers, but homeowners should still research and compare multiple backyard designers before committing. Your outdoor space is too important for a decision based solely on convenience.
How to Find Designers
Start your search with these resources:
- Local Google searches – “Backyard designer Chandler AZ” or “new construction landscaping near me”
- Instagram and Pinterest portfolios – Search location tags and relevant hashtags
- Builder superintendent referrals – They’ve seen which designers coordinate well with construction
- Neighborhood Facebook groups – Real reviews from homeowners in similar new builds
- Houzz and Yelp – Verified reviews and portfolio images
Vetting Criteria
When evaluating potential designers, assess:
- Experience with new construction – Different from retrofit work
- Knowledge of local building codes – Essential for pools, structures, and fences
- Clear design process – Defined steps from consultation to final deliverables
- Transparent pricing – Written proposals with itemized costs
- Insurance and licensing – Protects you from liability
- Strong portfolio – Projects similar to your vision and scope
What to Request
Ask potential designers to provide:
- At least one 2D plan with measurements
- 3D renderings for visualization
- Plant and materials schedule with specifications
- Information on coordination with surveyors or pool engineers if needed
- Timeline and revision policy in writing
Sample Consultation Questions
During your initial meeting, ask:
- “What’s your typical timeline from first meeting to final plans?”
- “How many revision rounds are included in your fee?”
- “How do you coordinate with the home builder and other contractors during construction?”
FAQ
When should I hire a backyard designer during my new home construction?
The best time is as soon as your builder provides a plot plan and elevation drawings—typically 3–6 months before move-in. Early engagement lets you coordinate with your builder to run gas, power, and drainage lines before concrete is poured. This timing can save thousands compared to retrofitting after construction. Additionally, many HOAs require pre-approval of landscape plans, making early designer engagement essential to avoid delays in your move-in timeline.
Do I really need 3D renderings, or is a 2D plan enough?
2D plans are typically sufficient for permitting and contractor bids. They provide accurate measurements and spatial relationships that builders need. However, 3D renderings help homeowners visualize scale, privacy, and sightlines from inside the home—particularly useful for multilevel yards, rooftop decks, or complex pool and spa layouts. Budget-conscious homeowners can request one or two key 3D views of critical areas instead of a full 3D package, saving on design fees while still gaining valuable visual insight.
How can I make my new-build backyard low maintenance from day one?
Start with drought-tolerant, region-appropriate plants that thrive without constant attention. Install automated drip irrigation to deliver water efficiently. Minimize low-maintenance lawn areas in favor of native groundcovers or artificial turf in shaded areas. Choose durable materials like composite decking, porcelain pavers, and gravel mulch that resist staining and weeding. Perhaps most importantly, plan maintenance access during design—wide gates, clear paths to equipment, and accessible irrigation valves make long-term care easier and cheaper.
Can I phase my backyard project after moving into my new home?
Absolutely. A logical phasing plan helps manage costs while still achieving your dream garden over time. Install grading, drainage, and main patios in year one since these foundation elements are difficult to add later. Add shade structures and major planting in year two. Save specialty features like spas, outdoor kitchens, and water features for years three and four. The key is designing your full master plan upfront so utilities and layout work together even when built in stages.
